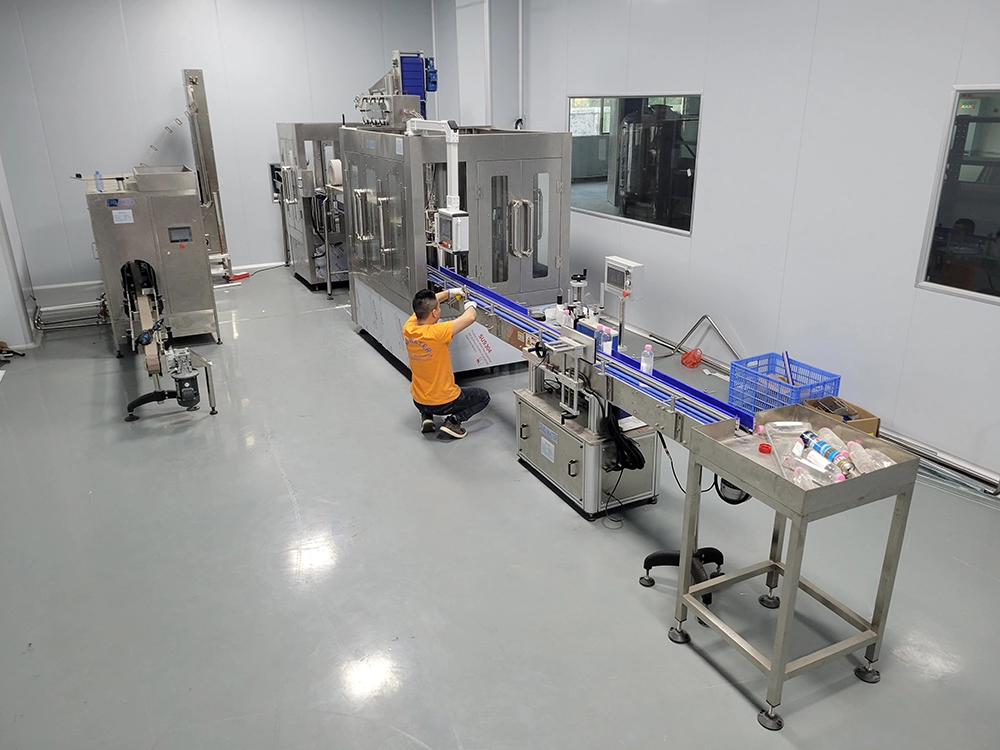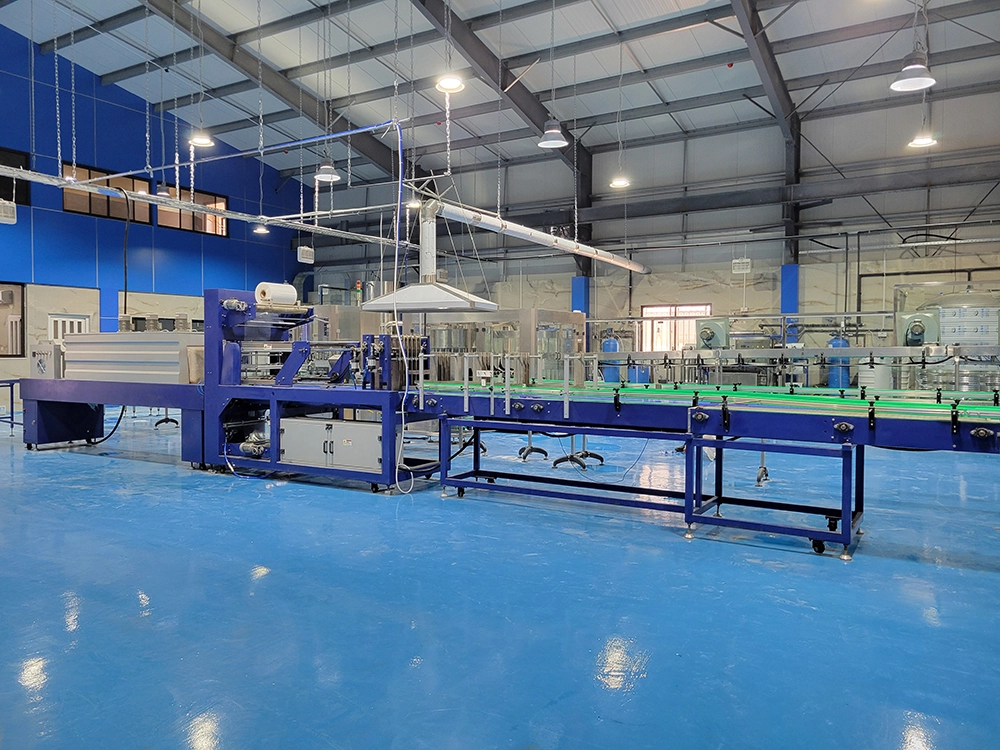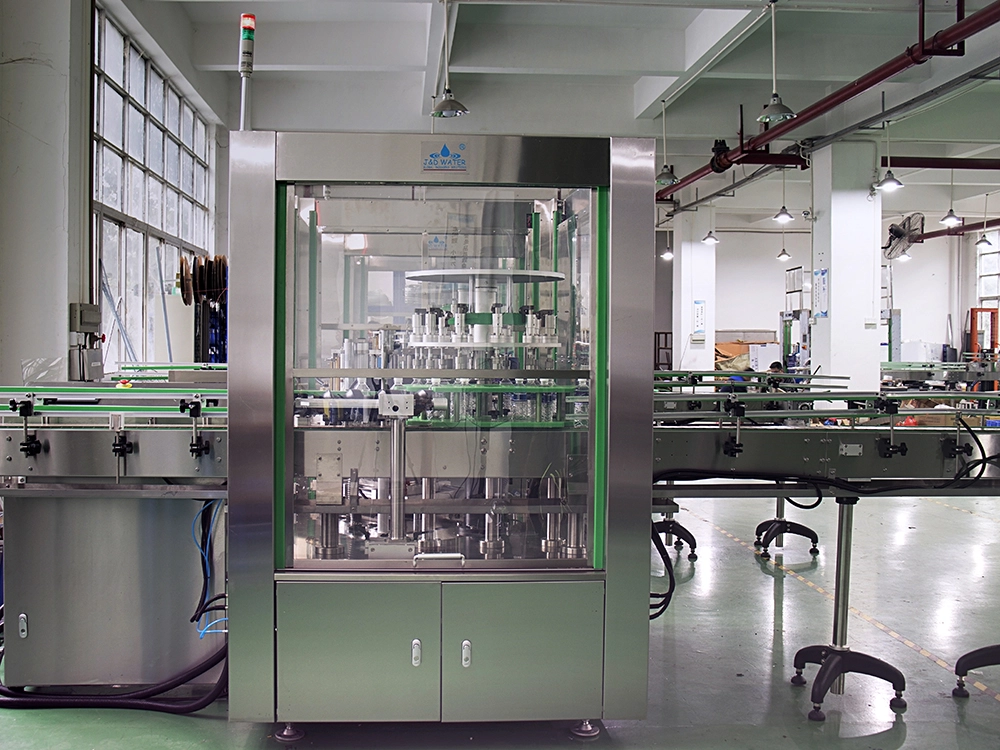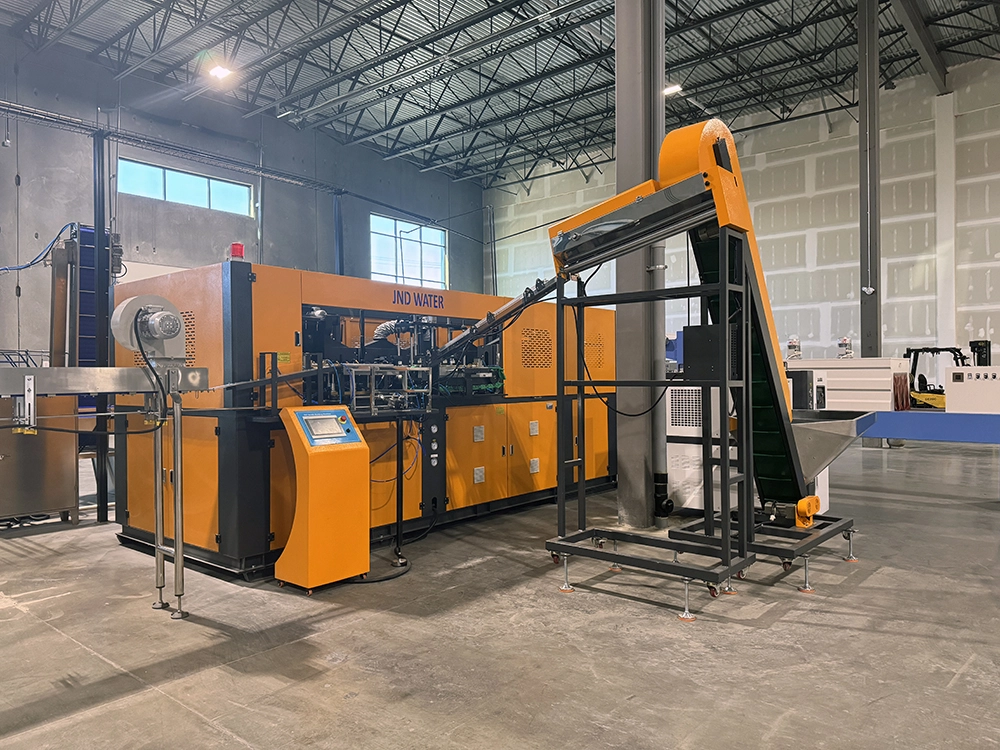
Cambiar de molde en un Moldeo por soplado ma chine es un mantenimiento rutinario que afecta directamente al tiempo de producción y a la calidad de las botellas. Ya sea que uses un soplador PET semiautomático JNDWATER o una máquina rotativa de moldeo totalmente automática, el procedimiento de cambio de molde sigue los mismos principios básicos. Esta guía te guía a través de todo el proceso — preparación, retirada, instalación, pruebas y resolución de problemas — basada en 17+ años de experiencia en el campo suministrando 9.000+ líneas de producción a 125+ países.
Preparación de seguridad antes del cambio de moho
La preparación adecuada no es negociable. Saltarse las medidas de seguridad puede causar lesiones, daños en el equipo y costosos tiempos de inactividad.
ADVERTENCIA: Nunca intentes cambiar el molde mientras la máquina está encendida o el sistema hidráulico presurizado. Sigue siempre el procedimiento de Lockout/Tagout (LOTO) de tu centro.
Herramientas necesarias
| Categoría | Herramientas | Propósito |
| Herramientas manuales | Llave dinamométrica, juego de llaves Allen, destornilladores, martillo de latón | Aflojamiento/apriete de tornillos, ajustes |
| Levantamiento | Grúa aérea, polipasto o soporte para moldes | Manejo seguro de moho |
| Limpieza | Disolvente, paños sin pelusa, aire comprimido | Limpieza de cavidades y canales |
| Lubricantes | Grasa a alta temperatura, agente desmoldante, aceite oxidante | Lubricación de pasadores guía, protección |
| EPI | Guantes resistentes al calor, gafas protectoras, botas con punta de acero | Protección personal |
Procedimiento de apagado de la máquina
- Detención de la producción y permitir que las bandas calefactoras se enfríen por debajo de los 50°C (122°F).
- Despresurizar el sistema hidráulico y verifica que el indicador marque cero.
- Cierre patronal/Etiqueta — desconecta la corriente principal y aplica tu cerradura.
- Agua de refrigeración de drenaje de canales de molde antes de desconectar las líneas.
Paso 1 — Quita el moho antiguo
Empieza etiquetando cada conexión (líneas de refrigeración, mangueras de aire, cableado de calefacción, termopares) con cinta de colores o etiquetas numeradas; esto evita confusiones durante la reinstalación. Haz una foto antes de desconectar.
Afloja los tornillos en patrón diagonal
Afloja gradualmente los tornillos de montaje en un Patrón diagonal (estrellado) — nunca en secuencia alrededor del perímetro. Esto evita que el molde se atache en los pasadores guía. Afloja cada tornillo un cuarto de vuelta, pasando al otro perno después, hasta que todos estén sueltos a mano. Guarda los tornillos en un recipiente etiquetado.
CONSEJO PROFESIONAL: El error de campo más común que vemos es aflojar los tornillos en círculo. Esto desplaza el molde de forma desigual y pellizca los pasadores guía. Trabaja siempre en diagonal.
Levantar y almacenar el molde viejo
Los moldes de soplado pueden pesar de 50 kg hasta más de 1.000 kg. Nunca levantes peso manualmente. Coloca los tornillos de ojo de elevación en puntos designados, verifica que el ángulo de la correa esté por debajo de 60° respecto a la vertical y levanta primero 1-2 cm para comprobar que no queda atascado. Golpea suavemente con un martillo de latón para romper el sello si es necesario — nunca un martillo de acero. Guarda el molde en un palé de madera o alfombra de goma, nunca directamente sobre el hormigón.
Paso 2 — Inspecciona y prepara el nuevo moho
Verifica que el nuevo moho coincida con tu máquina antes de instalarla. Las desadaptaciones dañan tanto el moho como la máquina.
| Comprobado | Qué verificar | Riesgo si te equivocas |
| Fuerza de sujeción | El moho necesita menos que el máximo de máquina | Destello, sobrecarga |
| Altura del molde | Encaja en el rango de luz diurna de las máquinas | No se sube |
| Patrón de montaje | Los agujeros para los tornillos coinciden con la placa | Ajuste inseguro |
| Longitud del recorrido | Permite la apertura del moho | Fallo en el desmoldeo |
| Canales de refrigeración | El diámetro coincide con los accesorios | Refrigeración deficiente |
Limpia la cavidad y los canales de refrigeración con disolvente y aire comprimido. Pasa una uña por la línea de separación — debería sentirse perfectamente plana; Cualquier corte provoca destello. Aplica una capa fina de grasa disulfuro de molibdeno (MoS2) en los pasadores guía y casquillos. Evita engrasar en exceso, ya que atrae suciedad.
Paso 3 — Instala el nuevo molde
Alinea el molde con los pasadores guía y aprieta a mano dos tornillos diagonales, luego inserta el resto. Este es el paso más crítico: un par de motor inadecuado causa problemas de calidad tras el cambio.
| Paso | Nivel de par motor | Acción |
| 1 | 30% de la especificación | Ajusta todos los tornillos en patrón cruzado |
| 2 | 70% de la especificación | Aprieta el mismo patrón |
| 3 | 100% de la especificación | Par final con llave de tipo clic |
PRECAUCIÓN: Sigue siempre la tabla de par de tu máquina. Los valores típicos varían desde 80 Nm (M12) hasta 340 Nm (M20). Un par de motor incorrecto puede causar fallos de cerrojos durante la producción.
Reconecta las líneas en orden inverso de retirada (electricidad → aire → agua), usando tus etiquetas y la foto. Abre el suministro de agua y revisa cada raccordo para detectar fugas. Quita los dispositivos LOTO y restablece la energía.
Paso 4 — Prueba y calibración
Corre una Ciclo de pruebas sin carga Primero para verificar la alineación sin material. Luego se producen entre 5 y 10 botellas de muestra a velocidad reducida e inspeccionan para ver:
- Flash — exceso de material en la línea de separación (pernos o problema de presión)
- Grosor desigual de la pared — problema de relación de estiramiento o temperatura
- Deformación — problema de refrigeración o de temporización del soplado
Ajusta la presión de soplado, la temperatura y el tiempo hasta que las muestras sean consistentes. Documenta todos los parámetros en un registro de cambios para acelerar el siguiente cambio.
Cambio de molde según el tipo de máquina
JNDWATER ofrece varios tipos de máquinas de moldeo por soplado, cada una con ligeras diferencias en el cambio de molde:
| Máquina | Notas sobre el cambio de molde |
| PET semiautomática | Carga manual de molde, cavidad simple o doble, 30-60 minutos. Ideal para botellas de 0,5-10L. |
| Rotativo totalmente automático | Horno de calefacción integrado y sujeción servo; Cambio de molde mediante placas rápidas, 60-120 min. |
| Máquinas de 5 galones / 4L | Los moldes más grandes requieren manipulación con grúa; Verifica la apertura más amplia de luz diurna. |
Sistemas de Cambio Rápido de Molde (QMC)
Si cambias de molde más de 2-3 veces por semana, un Sistema de cambio rápido de molde Se paga solo. Los mecanismos de bloqueo rápido sin herramienta, los acoplamientos de fluidos autosellantes y los ajustes de servo reducen el cambio de horas a menos de 30 minutos. Para líneas de alta mezcla que producen varios tamaños de botella, QMC suele recuperar decenas de horas de producción al mes, con retorno en 6-15 meses.
Problemas comunes tras el cambio de moho
| Problema | Causa probable | Arreglar |
| Destello en la línea de separación | Pernos subapretados; Fuerza de sujeción baja | Pernos de torqueo; Aumentar la presión de la abrazadera |
| Grosor desigual de la pared | Relación de estiramiento desactivada; Temperatura de pre-forma desigual | Ajustar la calefacción preforma; Comprueba la varilla de estiramiento |
| Dificultad para desmoldar | Refrigeración insuficiente del moho; Problema con el eyector | Aumenta el tiempo de refrigeración; Verificar los pasadores eyector |
| Fugas de agua | La línea de refrigeración no está sellada | Volver a apretar los conectores; reemplazar la junta tórica |
Almacenamiento y mantenimiento de moho
- Almacenamiento: Mantén los moldes en un área seca y con control de temperatura sobre palés; Nunca sobre hormigón.
- Prevención del óxido: Aplica aceite antióxido sobre las superficies de las cavidades entre usos.
- Limpieza: Limpia los canales de refrigeración mensualmente para evitar la acumulación de incrustaciones.
- Lubricación: Vuelve a engrasar los pasadores guía cada 3 meses o 500 ciclos.
- Inspección: Revisa la línea de separación y las rejillas antes de cada reinstalación.
Preguntas frecuentes
¿Cuánto tiempo se tarda en cambiar un molde en una máquina de soplado?
Para una máquina semiautomática de soplado PET, unos 30-60 minutos. Las máquinas rotativas totalmente automáticas pueden tardar entre 60 y 120 minutos. Un sistema QMC reduce esto a 15-30 minutos.
¿Qué herramientas se necesitan para cambiar el molde de una máquina de soplado?
Las herramientas esenciales incluyen una llave dinamométrica, un juego de llaves Allen, destornilladores, un martillo de latón, un polipasto o grúa para moldes pesados, paños de limpieza, agente desmoldante y grasa lubricante a alta temperatura.
¿Puedo cambiar el molde yo mismo o necesito un técnico?
Los operadores capacitados pueden realizar cambios estándar de molde siguiendo el manual. Para cambios primerizos, moldes complejos de varias cavidades o problemas de calibración, que supervise un técnico certificado. JNDWATER ofrece formación y puesta en marcha in situ para sus máquinas de moldeo por soplado.
¿Con qué frecuencia se deben reemplazar los moldes de soplado?
Con un mantenimiento adecuado, los moldes de soplado PET suelen durar entre 3 y 5 años. Cambia cuando veas un flash persistente, un grosor desigual de la pared o un desgaste visible de la cavidad.
Conclusión
Cambiar moldes en una máquina de soplado es un proceso sistemático basado en la seguridad, la precisión y la técnica adecuada. Sigue el procedimiento de cuatro pasos — preparación, retirada, instalación y prueba — para minimizar el tiempo de inactividad y garantizar una calidad constante de la botella desde el primer ciclo.
Para más información Máquinas de moldeo por soplado JNDWATER, Nuestra empresa y certificaciones, o Guías del sector, explora nuestra biblioteca de recursos.
¿Necesitas ayuda con tu operación de moldeo por soplado?
El equipo de ingeniería de JNDWATER cuenta con 17+ años de experiencia ayudando a fabricantes de todo el mundo a optimizar la producción. Tanto si necesitas una nueva Máquina de moldeo por soplado, formación para cambiar el moho o una solución rápida para cambiar el moho, estamos aquí para ayudarte.
17+ años de experiencia en diseño, fabricación y servicio técnico de máquinas de moldeo por soplado en 125+ países. Certificado en ingeniería de plásticos y gestión de seguridad industrial.