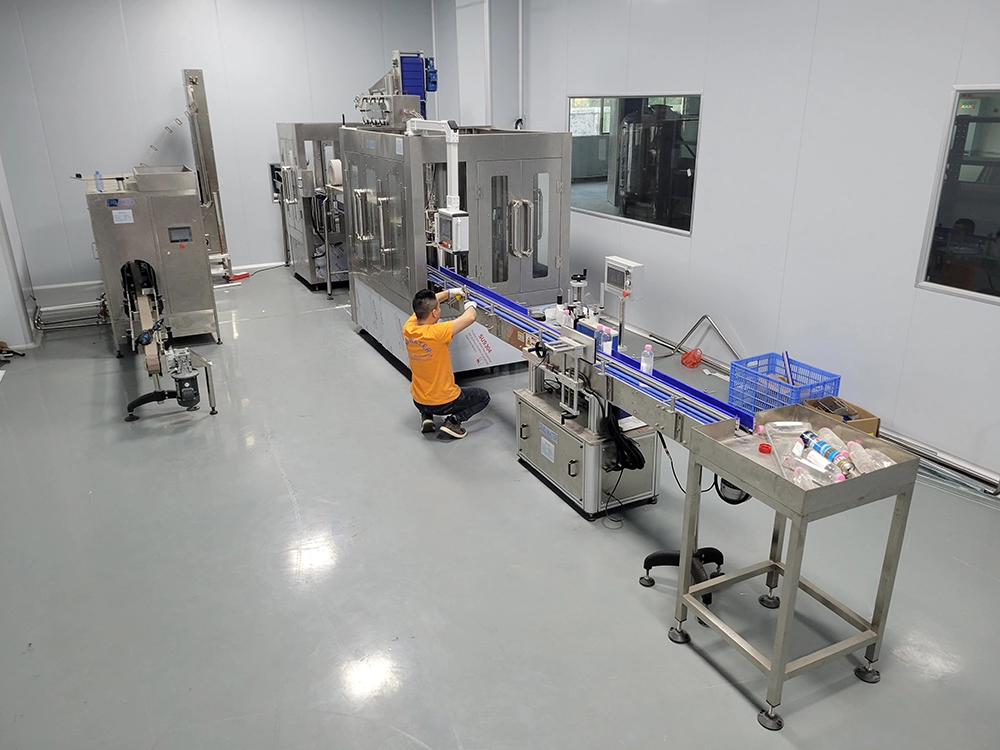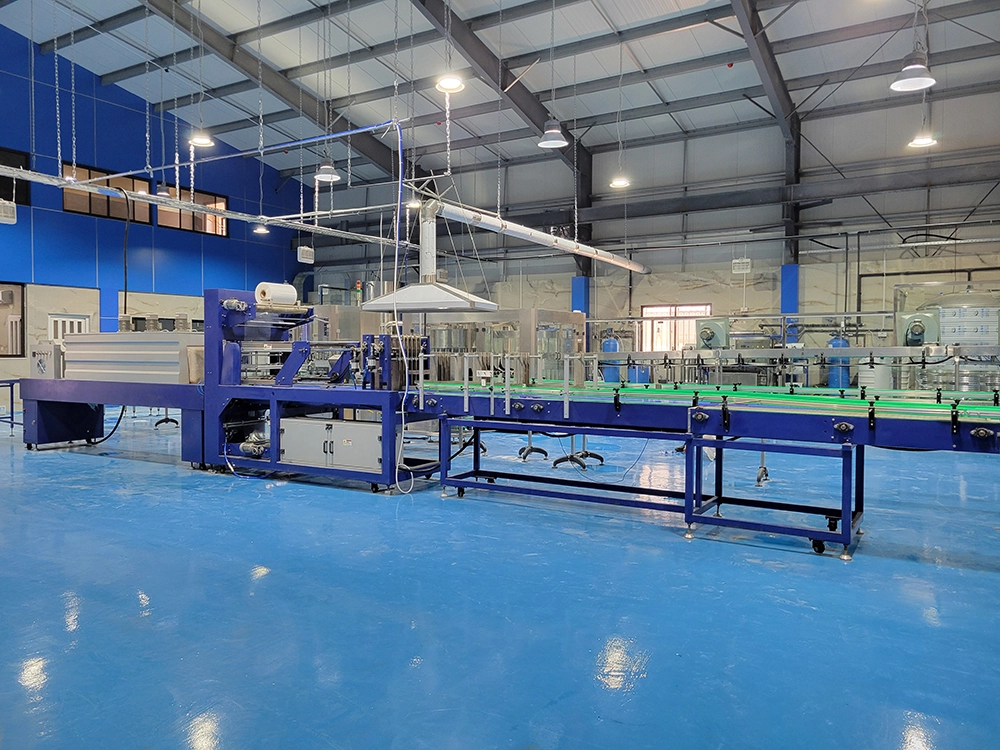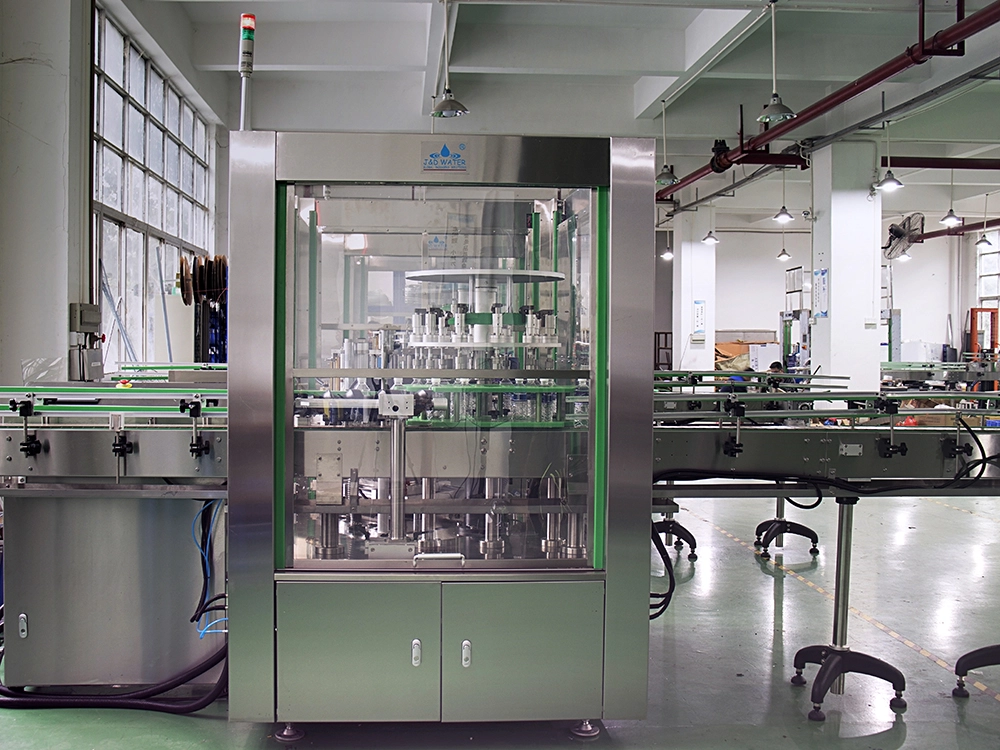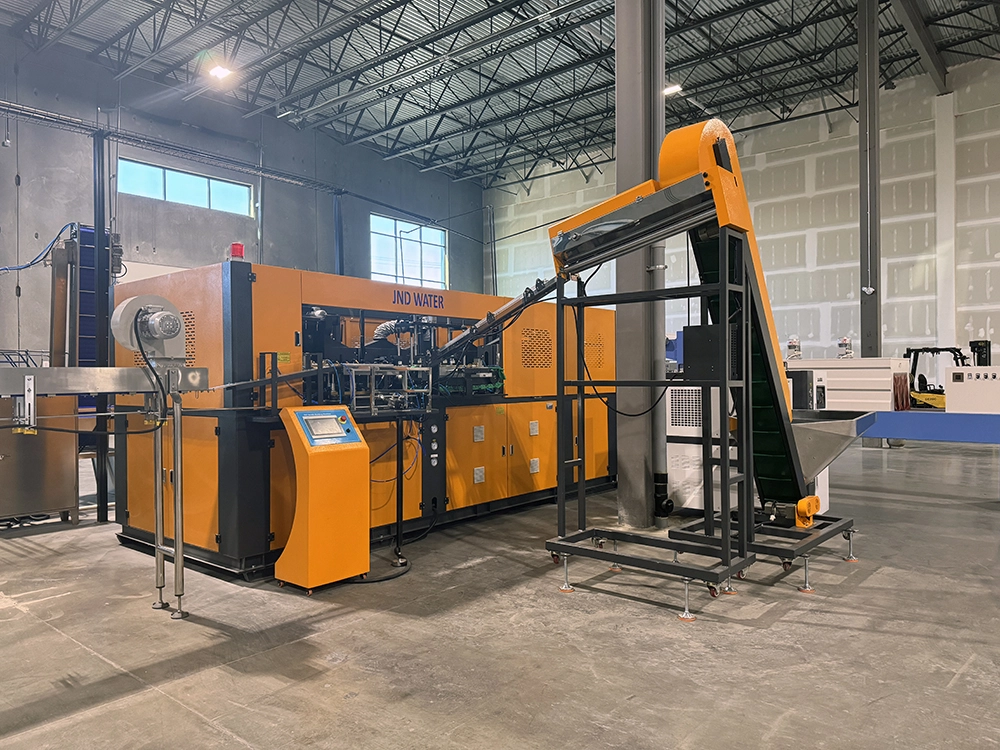
Mudando moldes em um Moldagem por sopro ma chine é uma manutenção rotineira que afeta diretamente o tempo de produção e a qualidade da garrafa. Seja usando um soprador semiautomático JNDWATER de PET ou uma máquina rotativa de moldagem totalmente automática, o procedimento de troca de molde segue os mesmos princípios fundamentais. Este guia guia você por todo o processo — preparação, remoção, instalação, testes e solução de problemas — baseado em 17+ anos de experiência em campo fornecendo 9.000+ linhas de produção para 125+ países.
Preparação de Segurança Antes da Mudança de Mofo
A preparação adequada é inegociável. Pular medidas de segurança pode causar lesões, danos ao equipamento e longos períodos de inatividade.
AVISO: Nunca tente trocar o molde enquanto a máquina está ligada ou o sistema hidráulico está pressurizado. Sempre siga o procedimento de Lockout/Tagout (LOTO) da sua instituição.
Ferramentas Necessárias
| Categoria | Ferramentas | Propósito |
| Ferramentas Manuais | Chave dinamométrica, conjunto de chaves Allen, chaves de fenda, martelo de latão | Desapertando/apertando parafusos, ajustes |
| Levantamento | Guindaste aéreo, guindaste ou equipamento de molde | Manuseio seguro de mofo |
| Limpeza | Solvente, panos sem fiapo, ar comprimido | Limpeza de cavidades e canais |
| Lubrificantes | Gordura de alta temperatura, agente desmoldante, óleo de ferrugem | Lubrificação do pino guia, proteção |
| EPI | Luvas resistentes ao calor, óculos de proteção, botas com bico de aço | Proteção pessoal |
Procedimento de Desligamento da Máquina
- Parar a produção e permitir que as faixas de aquecimento resfriem abaixo de 50°C (122°F).
- Despressurizar o sistema hidráulico e verifique se o medidor marca zero.
- Bloqueio/Saída — desconecte a energia principal e aplique a fechadura.
- Água de resfriamento do dreno dos canais de molde antes de desconectar as linhas.
Passo 1 — Remova o Mofo Antigo
Comece rotulando cada conexão (linhas de resfriamento, mangueiras de ar, fiação do aquecedor, termopares) com fita colorida ou etiquetas numeradas — isso evita confusão durante a reinstalação. Tire uma foto antes de desconectar.
Solte os parafusos em padrão diagonal
Afrouxe gradualmente os parafusos de montagem em um Padrão diagonal (estrela) — nunca em sequência ao redor do perímetro. Isso evita que o molde fique preso nos pinos guia. Afrouxe cada parafuso um quarto de volta, trabalhando para o parafuso oposto em seguida, até que todos fiquem soltos à mão. Guarde os parafusos em um recipiente rotulado.
DICHA: O erro de campo mais comum que vemos é afrouxar parafusos em círculo. Isso desloca o molde de forma desigual e belisca os pinos guia. Sempre trabalhe na diagonal.
Levante e Armazene o Molde Antigo
Moldes de sopro podem pesar de 50 kg até mais de 1.000 kg. Nunca levante pesos manualmente. Prenda parafusos de elevação nos pontos designados, verifique se o ângulo da esticeira está abaixo de 60° em relação à vertical e levante 1-2 cm primeiro para verificar se está fixado. Bata suavemente com um martelo de latão para quebrar a vedação, se necessário — nunca um martelo de aço. Armazene o molde em um palete de madeira ou tapete de borracha, nunca diretamente sobre concreto.
Passo 2 — Inspecione e Prepare o Novo Mofo
Verifique se o novo molde corresponde à sua máquina antes de instalar. As descorrespondências danificam tanto o mofo quanto a máquina.
| Confere | O que verificar | Risco se estiver errado |
| Força de Fixação | O mofo precisa de menos do que o máximo da máquina | Flash, sobrecarga |
| Altura do Molde | Serve na faixa de luz diurna da máquina | Não vai montar |
| Padrão de Montagem | Os furos dos parafusos combinam com a placa | Ajuste inseguro |
| Comprimento do Curso | Acomoda a abertura do molde | Falha na desmoldagem |
| Canais de Resfriamento | O diâmetro combina com as conexões | Resfriamento ruim |
Limpe a cavidade e os canais de resfriamento com solvente e ar comprimido. Passe uma unha ao longo da linha de separação — deve parecer perfeitamente plano; Qualquer corte causa flash. Aplique uma camada fina de graxa dissulfeto de molibdênio (MoS2) nos pinos guia e buchas. Evite lubrificar demais, pois isso atrai sujeira.
Passo 3 — Instale o Novo Molde
Alinhe o molde com os pinos guia e aperte manualmente dois parafusos diagonais, depois insira o restante. Esse é o passo mais crítico — torque inadequado causa problemas de qualidade após a troca.
| Passe | Nível de torque | Ação |
| 1 | 30% da especificação | Aperte todos os parafusos em padrão cruzado |
| 2 | 70% da especificação | Aperte o mesmo padrão |
| 3 | 100% da especificação | Torque final com chave inglesa do tipo clique |
ATENÇÃO: Sempre siga o gráfico de torque da sua máquina. Os valores típicos variam de 80 Nm (M12) a 340 Nm (M20). Torque errado pode causar falha do parafuso durante a produção.
Reconecte as linhas na ordem inversa da remoção (elétrica, → ar → água), usando suas etiquetas e foto. Abra o abastecimento de água e verifique cada conexão para vazamentos. Remova dispositivos LOTO e restaure a energia.
Passo 4 — Teste e Calibração
Faça uma Ciclo de teste sem carga primeiro para verificar o alinhamento sem material. Depois, produza de 5 a 10 frascos de amostra em velocidade reduzida e inspecione por:
- Flash — material excedente na linha de separação (parafusos ou problema de pressão)
- Espessura desigual da parede — questão de razão de estiramento ou temperatura
- Deformação — problema de resfriamento ou temporização do sopro
Ajuste a pressão de sopro, temperatura e tempo até que as amostras sejam consistentes. Documente todos os parâmetros em um registro de mudanças para acelerar a próxima mudança.
Mudança do Molde por Tipo de Máquina
A JNDWATER oferece vários tipos de máquinas de sopro, cada uma com pequenas diferenças de mudança de molde:
| Máquina | Notas sobre Mudança de Molde |
| PET semi-automático | Carregamento manual do molde, cavidade simples ou dupla, 30-60 min. Ideal para garrafas de 0,5-10L. |
| Rotativo totalmente automático | Forno de aquecimento integrado e fixação servo; Troca de molde via placas rápidas, 60-120 min. |
| Máquinas de 5 galões / 4L | Moldes maiores exigem manuseio com guindaste; Verifique a abertura mais ampla da luz do dia. |
Sistemas de Troca Rápida de Molde (QMC)
Se você trocar molde mais de 2-3 vezes por semana, um Sistema de Troca Rápida de Mofo se paga por si só. Mecanismos de travamento rápido sem ferramentas, acoplamentos hidráulicos auto-selantes e ajustes servo reduzem a troca de horas para menos de 30 minutos. Para linhas de alta mistura que produzem múltiplos tamanhos de garrafas, a QMC normalmente recupera dezenas de horas de produção por mês, com retorno em 6 a 15 meses.
Problemas Comuns Após a Mudança de Mofo
| Problema | Causa Provável | Corrigir |
| Clarão na linha de separação | Parafusos apertados por pouco; Força de abraçadeira baixa | Parafusos de torque; Aumentar a pressão da grampa |
| Espessura desigual da parede | Razão de alongamento desajustada; Temperatura de pré-apresentação desigual | Ajuste o aquecimento pré-formação; Vara de alongamento de verificação |
| Dificuldade no desmoldamento | Resfriamento insuficiente do mofo; Problema com o ejetor | Aumentar o tempo de resfriamento; Verifique os pinos ejetores |
| Vazamento de água | Linha de resfriamento não vedada | Reaperte os encaixes; substituir o anel O-ring |
Armazenamento e Manutenção de Mofo
- Armazenamento: Mantenha os moldes em uma área seca e com temperatura controlada em paletes; Nunca em concreto.
- Prevenção da ferrugem: Aplique óleo preventivo contra ferrugem nas superfícies das cavidades entre os usos.
- Limpeza: Lave os canais de resfriamento mensalmente para evitar acúmulo de incrustação.
- Lubrificação: Refaça os pinos guia a cada 3 meses ou 500 ciclos.
- Inspeção: Verifique a linha de separação e as saídas de ar antes de cada reinstalação.
Perguntas frequentes
Quanto tempo leva para trocar um molde em uma máquina de sopro?
Para uma máquina semiautomática de sopro por PET, cerca de 30 a 60 minutos. Máquinas rotativas totalmente automáticas podem levar de 60 a 120 minutos. Um sistema QMC reduz isso para 15-30 minutos.
Quais ferramentas são necessárias para trocar o molde de uma máquina de sopro?
Ferramentas essenciais incluem uma chave dinamometrica, conjunto de chaves Allen, chaves de fenda, um martelo de latão, um guindaste ou guindaste para moldes pesados, panos de limpeza, agente desmoldante e graxa lubrificante de alta temperatura.
Posso trocar o molde eu mesmo ou preciso de um técnico?
Operadores treinados podem realizar mudanças padrão de molde seguindo o manual. Para mudanças iniciais, moldes complexos de múltiplas cavidades ou problemas de calibração, peça a supervisão de um técnico certificado. A JNDWATER oferece treinamento e comissionamento no local para suas máquinas de moldagem por sopro.
Com que frequência os moldes de sopro devem ser substituídos?
Com a manutenção adequada, os moldes de sopro PET normalmente duram de 3 a 5 anos. Troque quando você vir flash persistente, espessura desigual da parede ou desgaste visível da cavidade.
Conclusão
Trocar moldes em uma máquina de sopro é um processo sistemático baseado em segurança, precisão e técnica adequada. Siga o procedimento de quatro etapas — preparação, remoção, instalação e teste — para minimizar o tempo de inatividade e garantir a qualidade consistente da garrafa desde o primeiro ciclo.
Para mais informações Máquinas de sopro JNDWATER, Nossa empresa e certificações, ou Guias do setor, explore nossa biblioteca de recursos.
Precisa de ajuda com sua operação de moldagem por sopro?
A equipe de engenharia da JNDWATER tem 17+ anos de experiência ajudando fabricantes em todo o mundo a otimizar a produção. Se você precisa de um novo Máquina de moldagem por sopro, treinamento para mudança de mofo, ou uma solução rápida para trocar mofo, estamos aqui para ajudar.
17+ anos de experiência em projeto, fabricação e serviço técnico de máquinas de moldagem por sopro em 125+ países. Certificado em engenharia de plásticos e gestão de segurança industrial.