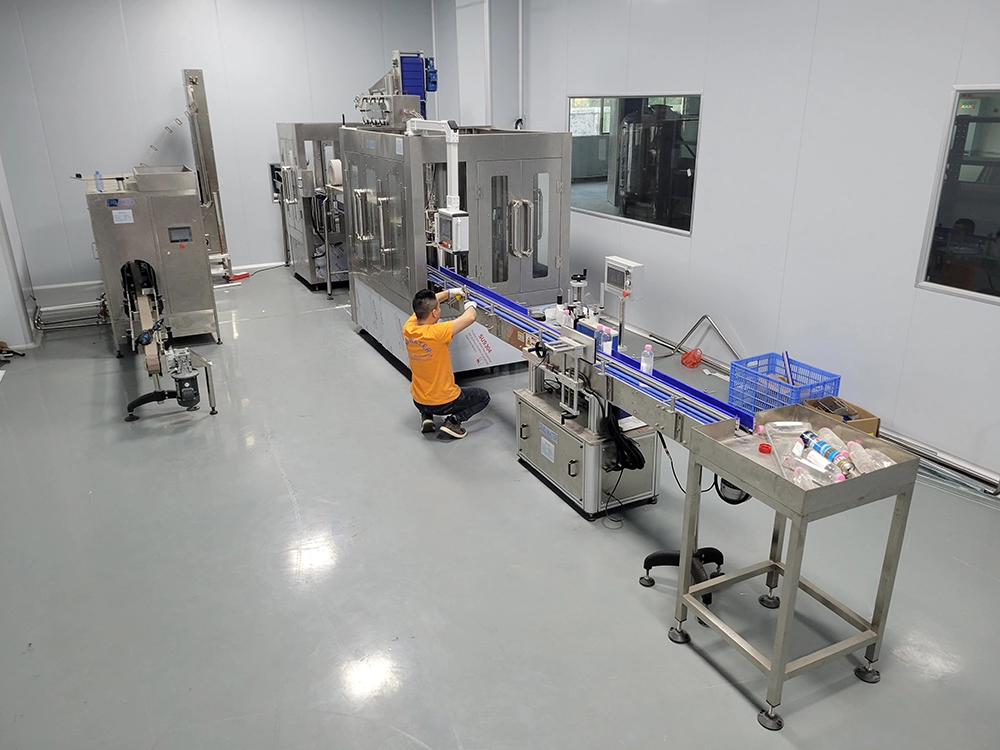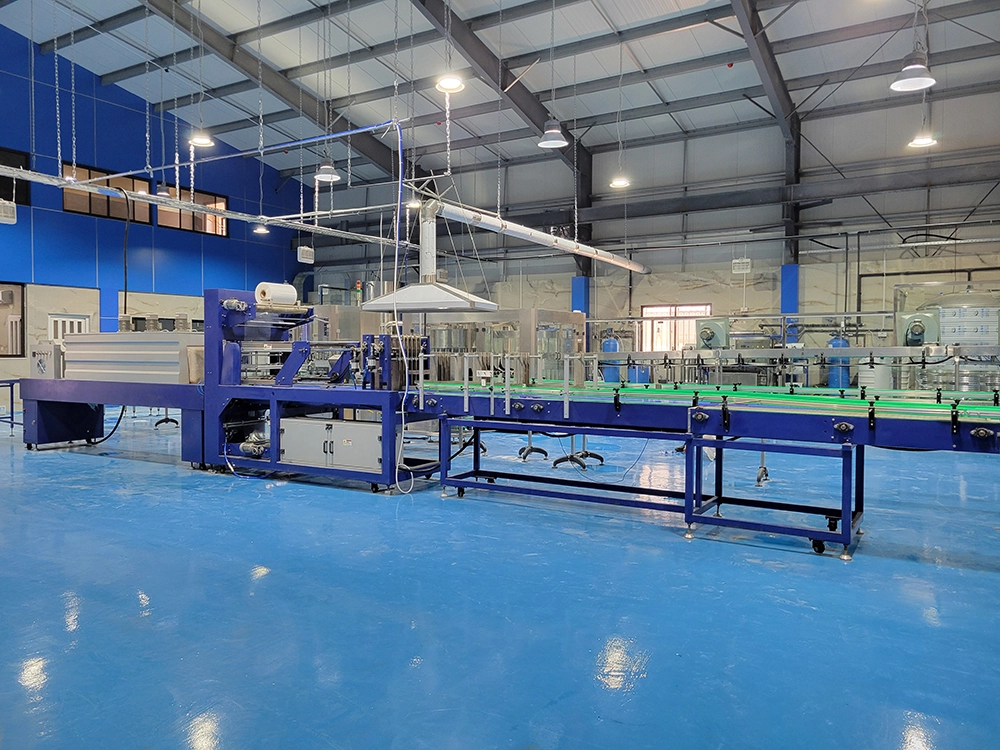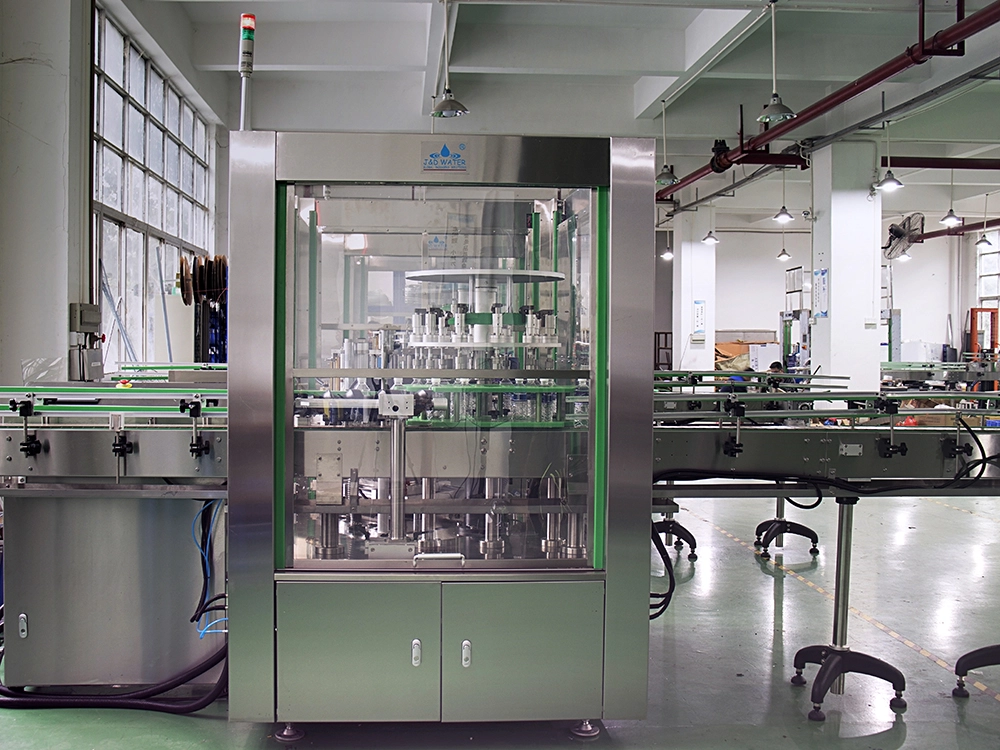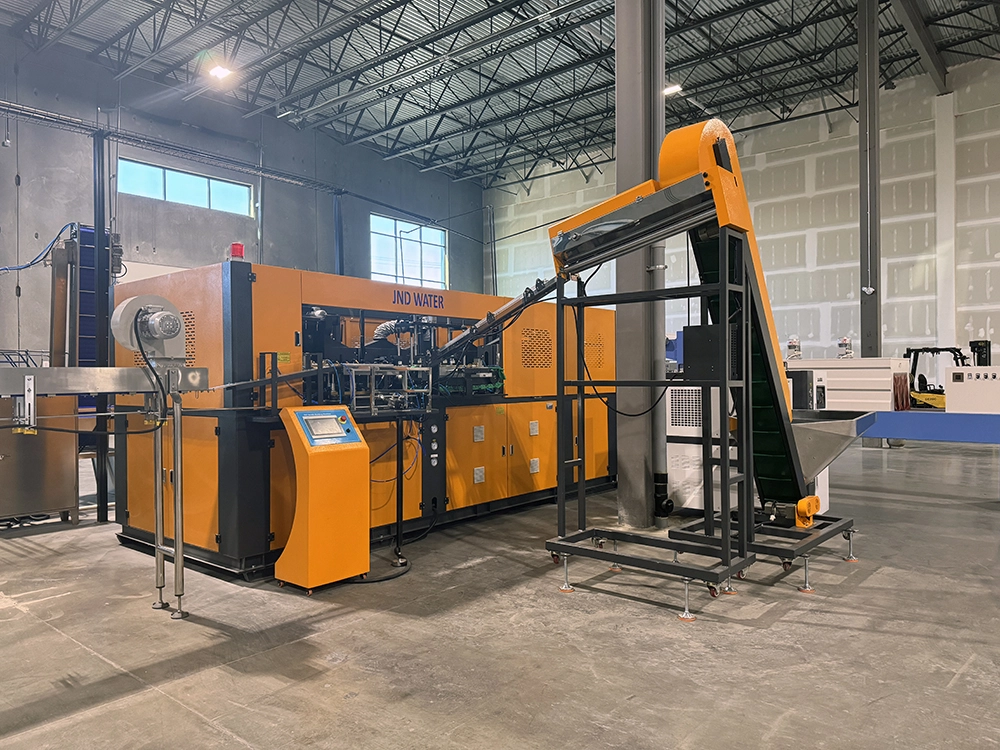
Changer de moule sur un Moulage par soufflage ma chine C’est un entretien de routine qui affecte directement votre temps de production et la qualité de la bouteille. Que vous utilisiez un ventilateur PET semi-automatique JNDWATER ou une machine de soufflage rotatif entièrement automatique, la procédure de changement de moule suit les mêmes principes fondamentaux. Ce guide vous guide à travers l’ensemble du processus — préparation, retrait, installation, tests et dépannage — basé sur 17+ ans d’expérience sur le terrain fournissant 9 000+ lignes de production à 125+ pays.
Préparation à la sécurité avant le changement de moisissure
Une préparation adéquate est non négociable. Sauter les mesures de sécurité peut entraîner des blessures, des dommages matériels et des temps d’arrêt coûteux.
ATTENTION : Ne tentez jamais de changer le moule pendant que la machine est allumée ou que le système hydraulique est pressurisé. Suivez toujours la procédure de Lockout/Tagout (LOTO) de votre établissement.
Outils requis
| Catégorie | Outils | Objectif |
| Outils manuels | Clé dynamométrique, jeu de clés Allen, tournevis, marteau en laiton | Desserrage/serrage des boulons, réglages |
| Levage | Grue aérienne, palan ou installation de moulage | Manipulation sûre des moisissures |
| Nettoyage | Solvant, linges sans peluches, air comprimé | Nettoyage des cavités et des canaux |
| Lubrifiants | Graisse haute température, agent démoulant, huile de rouille | Lubrification de goupille guide, protection |
| PPE | Gants résistants à la chaleur, lunettes de protection, bottes à embout en acier | Protection personnelle |
Procédure d’arrêt de la machine
- Arrêt de la production et laisser les bandes de chauffage refroidir en dessous de 50°C (122°F).
- Dépressuriser le système hydraulique et vérifie que le manomètre indique zéro.
- Lock-out/Tag out — débranchez l’alimentation principale et installez votre serrure.
- Eau de refroidissement des drains à partir des canaux de moisissure avant de débrancher les lignes.
Étape 1 — Enlever l’ancienne moisissure
Commencez par étiqueter chaque connexion (lignes de refroidissement, tuyaux d’air, câblage de chauffage, thermocouples) avec du ruban adhésif coloré ou des plaques numérotées — cela évite toute confusion lors de la réinstallation. Prenez une photo avant de déconnecter.
Desserrer les boulons en diagonale
Desserrez progressivement les boulons de fixation dans un Motif diagonal (étoile) — jamais en séquence autour du périmètre. Cela empêche le moule de se coincer sur les goupilles-guides. Desserrez chaque boulon d’un quart de tour, puis en passant à l’autre boulon ensuite, jusqu’à ce que tous soient desserrés à la main. Rangez les boulons dans un contenant identifié.
ASTUCE PRO : L’erreur de terrain la plus courante que nous voyons est de desserrer les boulons en cercle. Cela déplace le moule de manière inégale et pince les goupilles guides. Toujours travailler en diagonale.
Soulevez et stockez l’ancienne moisissure
Les moules soufflés peuvent peser de 50 kg à plus de 1 000 kg. Ne soulevez jamais manuellement. Fixez des vis à œil de levage à des points désignés, vérifiez que l’angle de la sangle est inférieur à 60° par rapport à la verticale, puis soulevez d’abord 1 à 2 cm pour vérifier la présence de blocage. Tapotez doucement avec un marteau en laiton pour briser le joint si besoin — jamais un marteau en acier. Rangez le moule sur une palette en bois ou un tapis en caoutchouc, jamais directement sur le béton.
Étape 2 — Inspectez et préparez la nouvelle moisissure
Vérifiez que la nouvelle moisissure correspond à votre machine avant l’installation. Les désaccords endommagent à la fois la moisissure et la machine.
| Vérifié | Que vérifier | Risque si vous êtes faux |
| Force de serrage | Le moule nécessite moins que le maximum de machine | Flash, overload |
| Hauteur du moule | Convient à la plage de lumière de jour de la machine | Ça ne monte pas |
| Motif de montage | Les trous de boulons correspondent au plateau | Ajustement incertain |
| Longueur de la course | Permet d’ouvrir la moisissure | Défaillance du démoulage |
| Canaux de refroidissement | Le diamètre correspond aux raccords | Mauvaise climatisation |
Nettoyez la cavité et les canaux de refroidissement avec du solvant et de l’air comprimé. Faites passer un ongle le long de la ligne de séparation — il devrait paraître parfaitement plat ; Toute égratignure provoque des éclairs. Appliquez une fine couche de graisse disulfure de molybdène (MoS2) sur les goupilles et les bagues. Évitez de trop graisser, car cela attirerait la saleté.
Étape 3 — Installer le nouveau moule
Alignez le moule avec les goupilles guides et serrez à la main deux boulons diagonaux, puis insérez le reste. C’est l’étape la plus cruciale — un couple inadéquat cause des problèmes de qualité après le changement de ligne.
| Pass | Niveau de couple | Action |
| 1 | 30 % de la spécification | Serrez tous les boulons en motif croisé |
| 2 | 70 % de la spécification | Serrez le même motif |
| 3 | 100 % de la spécification | Couple final avec clé à clic |
ATTENTION : Suivez toujours le tableau de couple de votre machine. Les valeurs typiques varient de 80 Nm (M12) à 340 Nm (M20). Un mauvais couple peut provoquer une défaillance du boulon pendant la production.
Reconnectez les lignes dans l’ordre inverse du retrait (électricité → air → eau), en utilisant vos étiquettes et votre photo. Ouvrez l’alimentation en eau et vérifiez chaque raccord pour détecter des fuites. Retirez les appareils LOTO et rétablissez l’alimentation.
Étape 4 — Test et calibration
Faites une Cycle de test sans charge D’abord, vérifier l’alignement sans matériau. Ensuite, produire 5 à 10 bouteilles d’échantillons à vitesse réduite et inspecter :
- Flash — matériau excédentaire à la ligne de séparation (boulons ou problème de pression)
- Épaisseur inégale des parois — problème de rapport d’étirement ou de température
- Déformation — problème de refroidissement ou de calage de l’éclat
Ajustez la pression de soufflage, la température et le timing jusqu’à ce que les échantillons soient cohérents. Documentez tous les paramètres dans un journal de changement pour accélérer le prochain changement.
Changement de moule par type de machine
JNDWATER propose plusieurs types de machines de soufflage, chacune présentant de légères différences de changement de moule :
| Machine | Notes sur le changement de moule |
| PET semi-automatique | Chargement manuel du moule, cavité simple ou double, 30 à 60 min. Idéal pour les bouteilles de 0,5 à 10L. |
| Rotative entièrement automatique | Four chauffant intégré et serrage servo ; Changement de moule via des plaques à verrouillage rapide, 60-120 min. |
| Machines 5 gallons / 4L | Les moules plus grands nécessitent la manipulation par grue ; Vérifie l’ouverture plus large de lumière du jour. |
Systèmes de changement rapide de moule (QMC)
Si vous changez de moule plus de 2 à 3 fois par semaine, un Système de changement rapide de moule Ça se rend compte. Les mécanismes de verrouillage rapide sans outil, les accouplements fluides auto-scellants et les réglages servo réduisent le passage des heures à moins de 30 minutes. Pour les lignes à haute mixation produisant plusieurs tailles de bouteilles, QMC récupère généralement des dizaines d’heures de production par mois, avec un retour sur investissement en 6 à 15 mois.
Problèmes courants après un changement de moisissure
| Problème | Cause probable | Correction |
| Éclair à la ligne de séparation | Les boulons étaient sous-serrés ; Force de serrage faible | Boulons de torsion ; Augmenter la pression de la serre |
| Épaisseur inégale des parois | Rapport d’étirement désactivé ; Température de pré-exécution inégale | Ajustez le chauffage préformé ; Vérifiez la tige d’étirement |
| Difficulté de démoulage | Refroidissement insuffisant de la moisissure ; Problème d’éjecteur | Augmenter le temps de refroidissement ; Vérifier les broches d’éjection |
| Fuite d’eau | Conduite de refroidissement non étanche. | Resserrer les raccords ; remplacer le joint torique |
Stockage et entretien des moisissures
- Stockage : Gardez les moules dans une zone sèche et à température contrôlée sur des palettes ; Jamais sur du béton.
- Prévention de la rouille : Appliquez de l’huile antirouille sur les surfaces des cavités entre les utilisations.
- Nettoyage: Rinçez les canaux de refroidissement chaque mois pour éviter l’accumulation de tartre.
- Lubrification : Regraisser les goupilles guides tous les 3 mois ou 500 cycles.
- Inspection : Vérifiez la ligne de séparation et les bouches d’aération avant chaque réinstallation.
Foire aux questions
Combien de temps faut-il pour changer un moule sur une machine à souffler ?
Pour une machine semi-automatique de moulage par soufflage PET, environ 30 à 60 minutes. Les machines rotatives entièrement automatiques peuvent prendre entre 60 et 120 minutes. Un système QMC réduit ce délai à 15 à 30 minutes.
Quels outils sont nécessaires pour changer un moule de machine à souffler ?
Les outils essentiels incluent une clé dynamométrique, un jeu de clés Allen, des tournevis, un marteau en laiton, un palan ou une grue pour moules lourds, des chiffons de nettoyage, un agent démoulant et une graisse lubrifiante haute température.
Puis-je changer le moule moi-même ou ai-je besoin d’un technicien ?
Les opérateurs formés peuvent effectuer des changements standards de moule en suivant le manuel. Pour les premiers changements, les moules complexes à cavités multiples ou les problèmes d’étalonnage, faites appel à un technicien certifié pour superviser. JNDWATER assure la formation sur site et la mise en service de ses machines de soufflage.
À quelle fréquence faut-il remplacer les moules à soufflage ?
Avec un entretien approprié, les moules à soufflage PET durent généralement de 3 à 5 ans. Remplacez-le si vous constatez un flash persistant, une épaisseur de paroi inégale ou une usure visible de la cavité.
Conclusion
Changer les moules sur une machine de soufflage est un processus systématique fondé sur la sécurité, la précision et la bonne technique. Suivez la procédure en quatre étapes — préparation, retrait, installation et test — afin de minimiser les temps d’arrêt et d’assurer une qualité constante de la bouteille dès le premier cycle.
Pour en savoir plus sur Machines de soufflage JNDWATER, Notre entreprise et certifications, ou Guides industriels, explorez notre bibliothèque de ressources.
Besoin d’aide pour votre opération de moulage par soufflage ?
L’équipe d’ingénierie de JNDWATER possède 17+ ans d’expérience dans l’aide aux fabricants du monde entier à optimiser la production. Que vous ayez besoin d’un nouveau Machine de moulage par soufflage, formation au changement de moisissure, ou une solution rapide pour changer de moisissure, nous sommes là pour vous aider.
17+ ans d’expérience dans la conception, la fabrication et le service technique de machines de soufflage dans 125+ pays. Certifié en génie des plastiques et en gestion de la sécurité industrielle.